Mushroom Paradise
Kiniška apelsininė vištiena su kreivabudėmis
Energetinė vertė (100 g)
ingredientai
Vištienai reikės:
400 g vištienos šlaunelių mėsos
150 g pasirinktų kreivabudžių
100 g bulvių krakmolo
2 kiaušinių
500 ml rapsų aliejaus kepimui
Padažui reikės:
150 ml apelsinų sulčių
1 šaukštas medaus
2 šaukštai sojų padažo
1 šaukštas ryžių acto
Mažas žiupsnelis šviežio imbiero
½ šviežio čili pipiro
2 skiltelės šviežio česnako
2 šaukštai sesamų ailiejaus
Papildomai:
Virti ryžiai
Žiūpsnelis keptų sezamo sėklų
Šviežios kalendros, svogūnų laiškai
instrukcijos
Paruoškite vištieną ir grybus:
- Supjaustykite vištieną ir kreivabudes juostelėmis.
- Sudėkite viską į dubenį ir užpilkite plaktu kiaušiniu bei bulvių krakmolu.
- Gerai išmaišykite ir palikite pastovėti.
Paruoškite padažą:
- Įkaitinkite aliejų puode.
- Kol aliejus kaista, kitoje keptuvėje įkaitinkite sezamų aliejų, suberkite smulkintą imbierą, česnaką ir aitriąją papriką – šiek tiek pakepinkite. Supilkite apelsinų sultis, sojų padažą, ryžių actą ir medų.
- Virkite, kol padažas šiek tiek sutirštės. Laikykite ant silpnos ugnies.
Kepkite vištieną ir grybus:
- Kai aliejus pakankamai įkais, dėkite vištieną ir kreivabudes.
- Kepkite, kol taps auksinės spalvos ir traškios.
- Iškepus sudėkite ant popierinio rankšluosčio, kad nuvarvėtų aliejaus perteklius.
- Tada sudėkite į keptuvę su karštu padažu, padidinkite ugnį ir gerai išmaišykite. Kepkite apie 5 minutes, kol padažas dar labiau sutirštės ir visi skoniai susijungs.
Patarimai:
Patiekite su virtais ryžiais, pabarstę skrudintomis sezamo sėklomis ir šviežiomis žolelėmis.
FAQ

Since your UNGU Mushroom Grow Kit contains a living organism, it’s best to activate it as soon as you receive it. However, if you need to wait, you can store the kit in a cool, dry place away from direct sunlight or keep it in the refrigerator for up to six months.
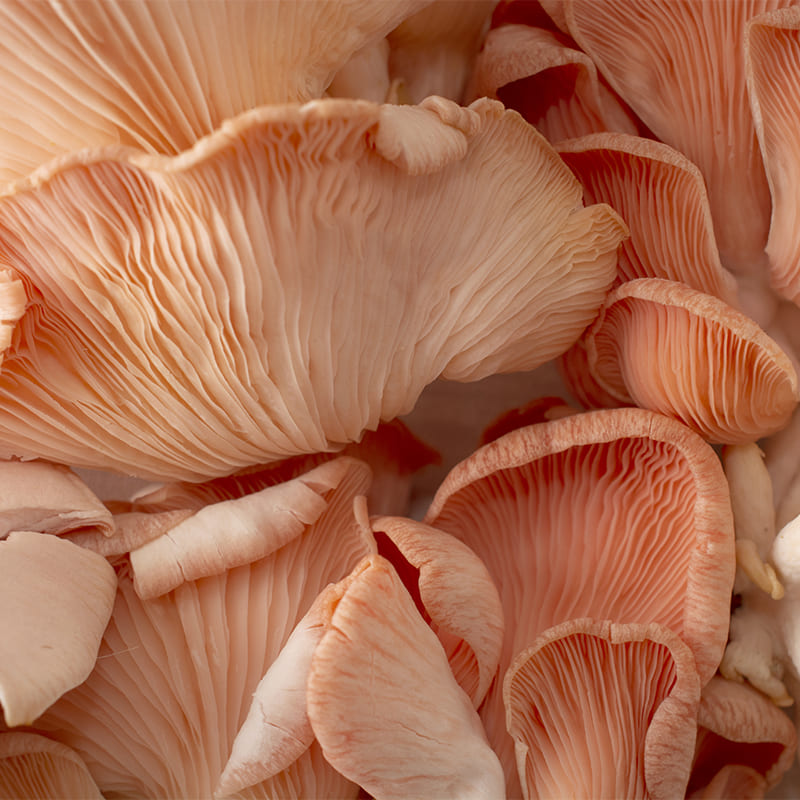
Important: Pink oyster mushrooms are sensitive to cold and should not be stored below 4°C. Instead of refrigerating them, keep them in a cellar, pantry, or another cool, shaded spot.
All the mushroom species in our kits are highly vigorous, so if stored for a few weeks, they may start fruiting inside the bag. This is completely normal, but it can sometimes catch people by surprise—hence our storage and activation recommendations!
If you notice any strange colors (green, black) or foul smells before opening your bag, please get in touch with some photos. We’ll be able to determine if something happened in transit and get you a new kit. A healthy kit should have white or off-white mycelium weaving through its brown substrate and have a pleasant earthy smell.
If the mushroom block is broken upon arrival, there’s hope yet! We often see this as a result of jostling around in transport. While it’s still in the bag, we recommend gently pressing the block back together and allowing it some extra time to bounce back before cutting it open to start the fruiting process. It may take about a week to re-establish itself. If your bag is already open, gently smoosh it together as best you can and make sure to keep the block moist. We recommend using a humidity tent. Take a trash bag or other large loose bag and cut lots of ½” holes throughout – mushrooms need fresh air to form correctly! Drape the bag over your block and mist the inside of the bag every day. When you start to see baby mushrooms form (pinning), you can remove the bag and keep misting the block.
If your mushroom block looks “dead” or like nothing is happening, there are a few possible causes. Lion’s mane mycelium is notoriously fine and often appears very light or unnoticeable – especially compared to oyster kits. If you have a lion’s mane kit and the block holds together, the mycelium may be difficult to see. For other kits, it’s possible the block was broken up in transit and needs some time to grow back together. Give it a few days, making sure to keep it misted, and see if the mycelium becomes more noticeable. We guarantee all of our kits will fruit within two weeks, or we’ll send you a replacement.
If your mushroom block seems dry and hasn’t produced any mushrooms yet, try using a humidity tent. Take a trash bag or other large loose bag and cut lots of ½” holes throughout – mushrooms need fresh air to form correctly! Drape the bag over your block and mist the inside of the bag every day. When you start to see baby mushrooms form (pinning), you can remove the bag and keep misting the block.
If your block still seems dry using the humidity tent or if your block has produced once or twice and dried out in between, you can give it a boost by soaking it in some water. Take your bag out of the box and let it soak, cut side down, in a bowl of water for an hour for oysters. Let a lion’s mane kit soak for 10-15 minutes and keep an eye on it, the mycelium of these mushrooms tends to be more delicate so soaking for too long can result in your block disintegrating. Pat the block dry before putting it back in the box. Mist as you would 2-3 times per day, a little extra if you live in an arid or dry climate.
If your mushroom pins have stopped developing, low humidity is likely the cause. Don’t worry—your kit still has all the nutrients needed to grow mushrooms! Here’s how to get it back on track:
Reviving your mushroom grow kit
- Remove dried-up pins from the block.
- Let the block rest on a plate for one week to dry out slightly.
- Soak the block in cold water for 20 minutes.
- Drain any excess water if using a kit that grows inside the bag.
- Restart the process as you did initially.
Using a humidity tent for better growth
- If you didn’t use a humidity tent before, consider adding one this time.
- A humidity tent creates a moist microclimate, ideal for mushroom growth.
- To make one, drape a loose plastic bag (with small ½-inch holes) over the block and mist inside daily.
Once new baby mushrooms (pins) start forming, remove the tent and continue misting 2-3 times per day to keep the block hydrated. With these adjustments, your kit should start growing again soon!
Harvesting your mushrooms is simple! Follow these steps for the best results:
- Gently twist and pull – hold the mushroom cluster near the base and spin it until it releases from the block.
- Or use a knife – If you prefer, you can cut the mushrooms at the base with a sharp knife.
- Clean up – remove any loose bits from the block and trim off any sawdust from the mushrooms before cooking.
After harvesting, keep misting your kit to encourage another flush of mushrooms!
Unfortunately, mushrooms don’t thrive when grown directly from grain spawn. While some may eventually fruit, the yield will be very small. Instead, grain spawn works best when used to inoculate a larger substrate like:
- Hardwood sawdust
- Manure
- Compost
- Straw
(Fun fact: Oyster mushrooms will grow on all of these!)
For an easier indoor growing experience, try a Mushroom Grow Kit —it comes fully colonized and ready to grow.
Plug spawn is slower to colonize but very resilient. It requires only a drill and hammer, making it a good choice for smaller projects and beginners. It’s also the more economical option if you’re inoculating just a few logs.
Sawdust spawn colonizes logs about 30% faster than plug spawn, making it a better choice for larger projects. However, it requires an inoculation tool, along with other equipment if you want to speed up the process. If you don’t have access to a forested or shady area, the totem method using sawdust spawn can be a good alternative, and no special tools are needed.
It’s best to wait 1-2 weeks before injecting your bag. This allows time to spot any issues that may have occurred during shipping and helps avoid wasting spores or culture syringes. If you notice any contamination or problems, reach out to us at [email protected] for assistance.
Hello academy
BEGINNER'S GUIDE
INTERMEDIATE'S GUIDE

PROFESSIONAL'S GUIDE

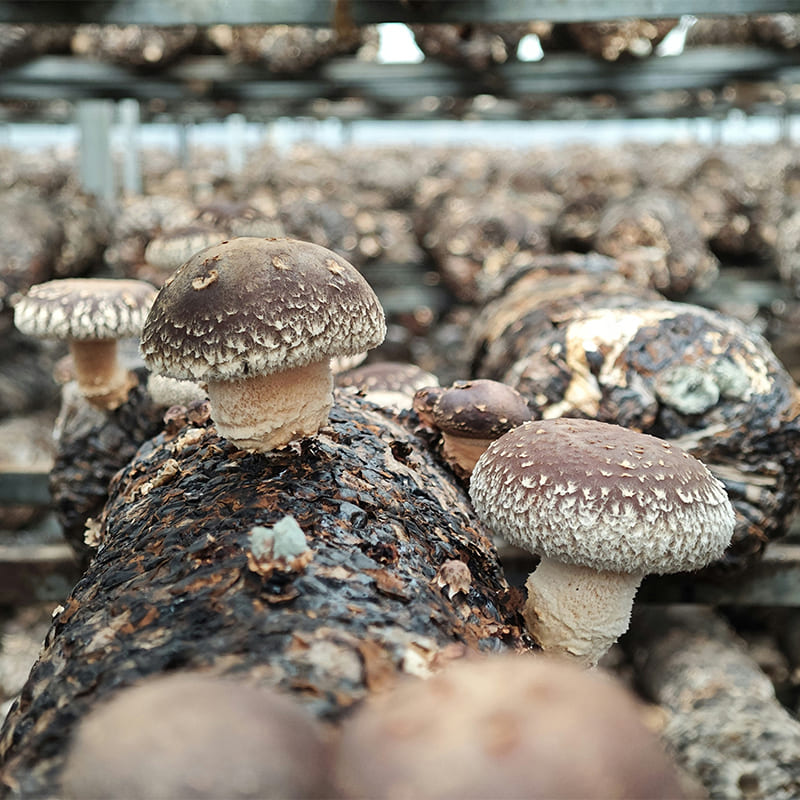
GUIDE TO SHIITAKE
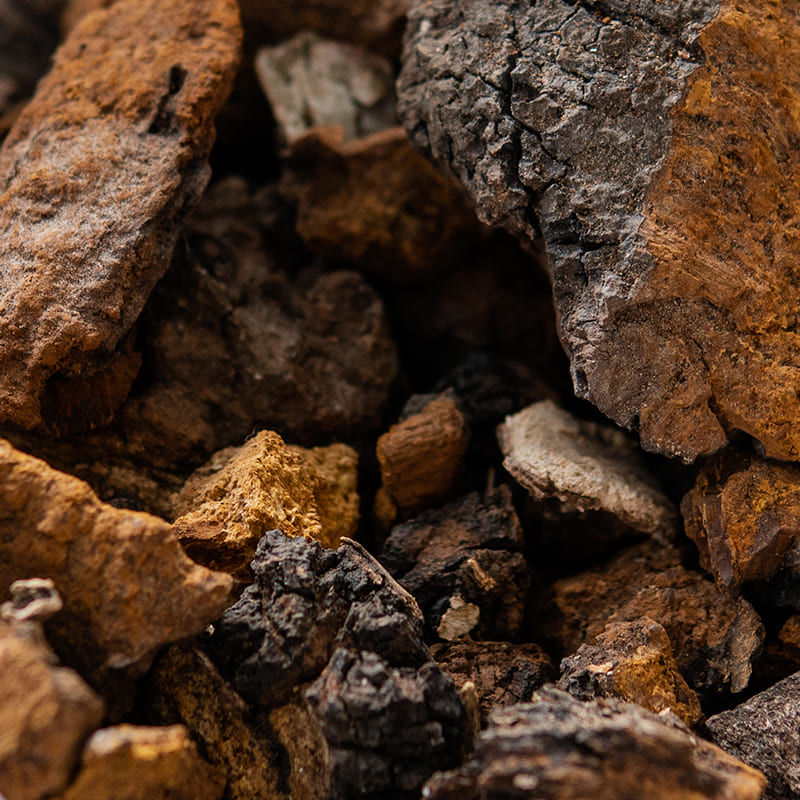
GUIDE TO CHAGA
GUIDE TO REISHI
Best Sellers
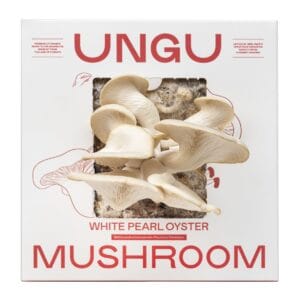
Grow your own mushrooms effortlessly—just open UNGU’s organic mushroom growing kit, spray, and enjoy fresh mushrooms at home!