Jei prieš atidarant maišelį pastebite keistas spalvas (žalią, juodą) arba nemalonų kvapą, susisiekite su mumis ir atsiųskite nuotraukų. Mes įvertinsime situaciją ir, jei reikės, atsiųsime jums naują rinkinį. Sveikas rinkinys turi turėti baltą arba rusvą micelį, persipynusį per rudą substratą, ir skleisti malonų žemišką kvapą.
Jei grybų blokas atvyko pažeistas, dar yra vilties! Dažnai tai nutinka dėl transportavimo metu patirto purtymo. Kol blokas dar yra maišelyje, rekomenduojame švelniai suspausti jį atgal į formą ir leisti jam šiek tiek atsistatyti prieš pradedant vaisiakūnių formavimą. Tai gali užtrukti apie savaitę. Jei maišelis jau atidarytas, švelniai spauskite bloką atgal ir būtinai palaikykite jo drėgmę. Rekomenduojame naudoti drėgmės palapinę: paimkite šiukšlių maišą ar kitą didelį laisvą maišą, prikarpykite daug 1–1,5 cm skersmens skylučių – grybams reikia šviežio oro! Uždėkite maišą ant bloko ir kasdien purkškite vidų. Kai pradėsite matyti mažus grybų daigus („pinning“ stadija), maišą galima nuimti ir toliau purkšti patį bloką.
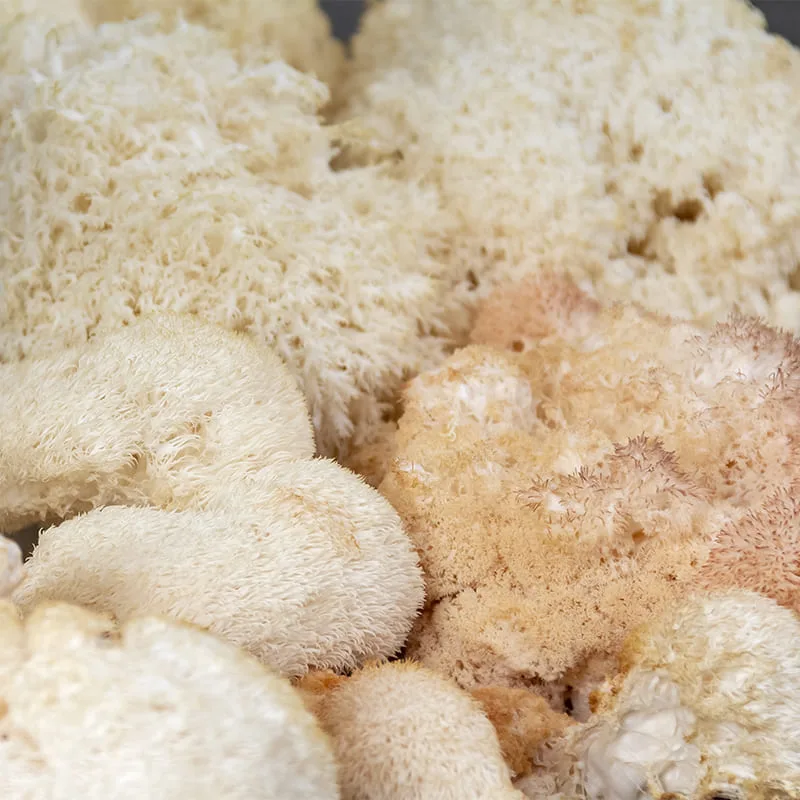
Jei blokas atrodo „negyvas“ arba niekas nevyksta, gali būti kelios priežastys. Lion’s Mane (liūto karčiai) micelis natūraliai yra labai švelnus ir gali būti sunkiai pastebimas – ypač lyginant su austrių grybais. Jei turite liūto karčių rinkinį ir blokas laikosi vientisas, tikėtina, kad micelis tiesiog nėra labai matomas. Kitų rūšių atveju gali būti, kad blokas transportavimo metu suskilo ir jam reikia šiek tiek laiko vėl suaugti. Duokite jam kelias dienas, palaikykite drėgmę ir stebėkite, ar micelis tampa labiau pastebimas. Mes garantuojame, kad visi mūsų rinkiniai pradės derėti per dvi savaites, o jei ne – atsiųsime jums pakaitinį rinkinį.
Jei jūsų blokas atrodo sausas ir dar nepradėjo duoti vaisiakūnių, pabandykite naudoti drėgmės palapinę (šiukšlių maišas su skylutėmis). Kasdien purkškite vidų ir stebėkite – kai tik pasirodys grybų daigai, maišą galima nuimti ir toliau drėkinti bloką.
Jei net naudojant drėgmės palapinę blokas vis dar atrodo sausas, arba jei blokas jau davė derlių vieną ar du kartus ir išdžiūvo tarp derlių, galite jį „atgaivinti“ pamirkydami vandenyje. Išimkite bloką iš dėžutės ir leiskite jam mirkti (pjūvio puse žemyn) vandens dubenyje:
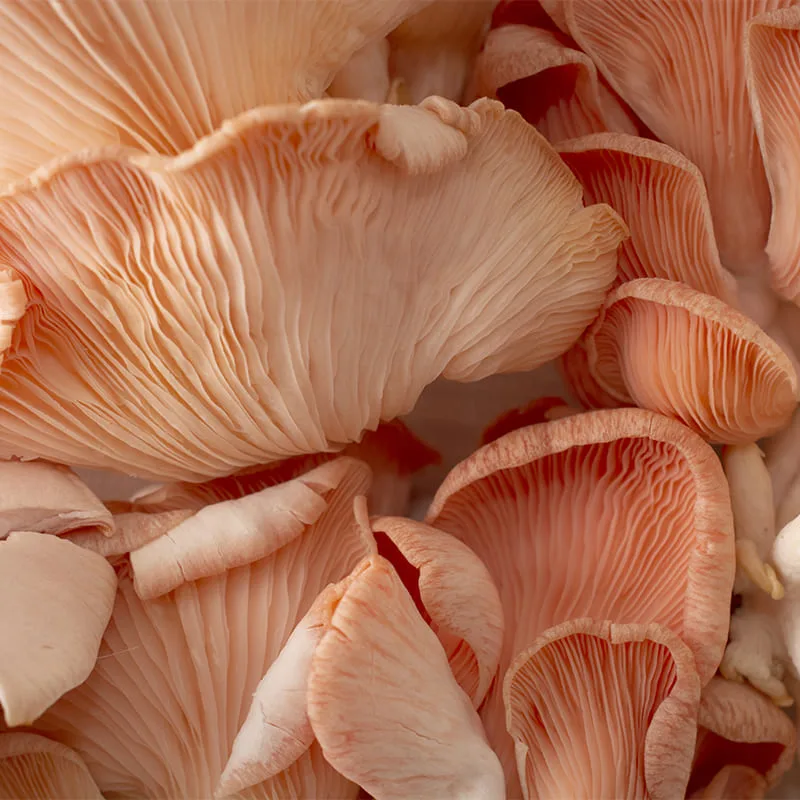
– kreivabudėms – apie 1 valandą,
– liūto karčių grybams – 10–15 minučių (juos stebėkite, nes micelis yra jautresnis, o per ilgas mirkymas gali pažeisti bloką).
Po mirkymo bloką švelniai nusausinkite ir grąžinkite atgal į dėžutę. Toliau purkškite 2–3 kartus per dieną, o jeigu gyvenate sausesniame klimate – galite purkšti šiek tiek dažniau.